– Feature Article – Decals, Etc.: How to Spiff Up Your Car
– Pinewood Derby Car Showcase
– Q&A
Decals, Etc.: How to Spiff Up Your Car
By Randy Davis
The difference between a boring pinewood derby car and a real eye- catcher could be a unique design, excellent craftsmanship, or a professional paint job. But in many cases all it takes are some decorative items to make a car really stand out. Let’s take a look at four types of decorative items that are easy to use, relatively inexpensive, and sure to give your car a special look.
Dry-Transfer Decals
Unlike stickers, dry-transfer decals are very thin and do not have a clear edge. Thus, they blend into the paint such that you have to look closely to see that the design is actually a decal.
Unlike water-slide decals, dry-transfer decals apply with no water; and unlike stickers, dry-transfer decals do not adhere to the car body on contact. Instead, dry-transfer decals use a pressure activated adhesive. So, an advantage of dry-transfer decals is that they can be finely positioned before they are permanently attached.
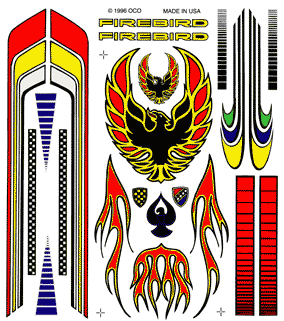
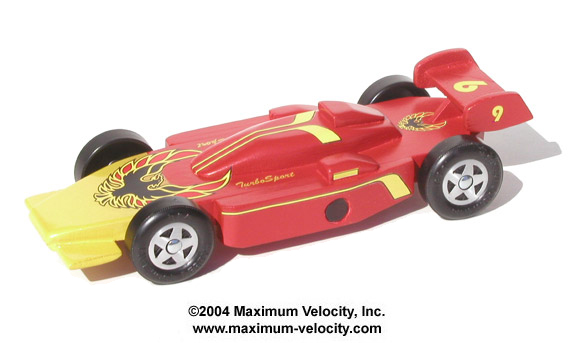
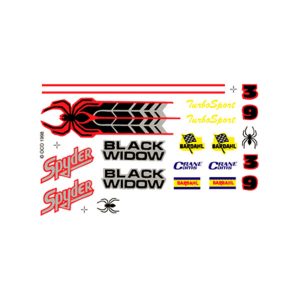
Figure 1 – Examples of Dry Transfer Decals
To apply dry-transfer decals, cut out the desired design, place it on the car in the desired location, hold it down, and use a soft pencil with a rounded tip to scribble over the entire decal (you will actually be scribbling on the transfer material, not the actual decal). After scribbling over the entire decal, carefully lift up on the edge of the transfer material. If the decal is not completely detached from the transfer material, scribble some more and try again. After the transfer material is removed, take the provided tissue-like paper and rub it over the entire decal.
If desired you can apply a clear coat over the decal. But first, make sure the clear coat is compatible with your paint job, and test the clear coat on an unused decal (apply it to a scrap piece of wood). I have successfully used acrylic and lacquer clear coats over dry- transfer decals, but it is best to play it safe by testing before spraying the car.
Stick-On Decals
Stick-On decals, as well as stickers are also good choices. They are inexpensive and easy to apply – just make sure you put the sticker where you want it. As you know, stickers like to attach themselves where you don’t want them!
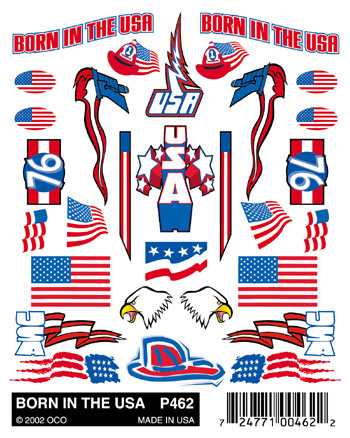
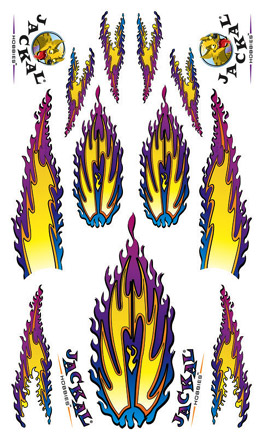
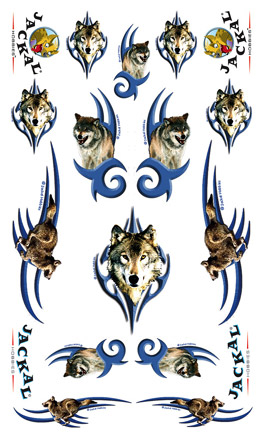
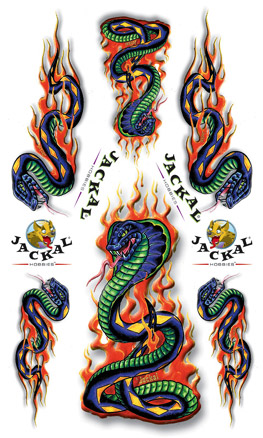 Figure 2 – Examples of Sticker Decals
My daughter used stickers to decorate her Diamondbacks car; she found the stickers at a team shop. I believe that team stickers exist for every professional team, as well as most college teams.
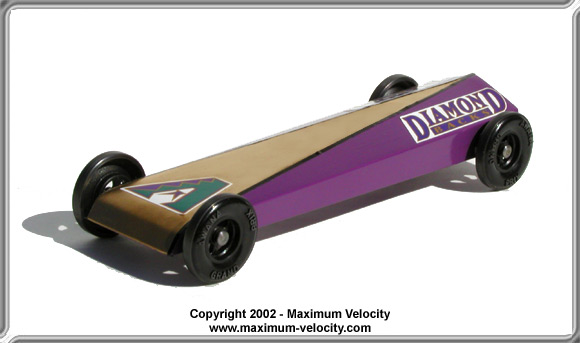 Figure 3 – D-Backs Car
To apply Stick-On decals, simply cut out a decal, remove any dust or debris from the car, peel off the backing, and stick it in place. If you want to apply a clear coat, make sure to first test compatibility.
Body Skins
At our pinewood derby race, we pass out design award ballots to the kids that have a car entered into the race. So, whichever cars look cool to the kids win the design awards. At our last race, two cars with body skins won design awards. In my mind they are not outstanding in any way, since the shape was quite common and the finish was a body skin. But the kids must have thought the skin was some kind of exotic paint job.
In fact, a well-applied skin does look very unique; and if you are not aware of body skins, you will be wondering how the car builder achieved such a unique look.
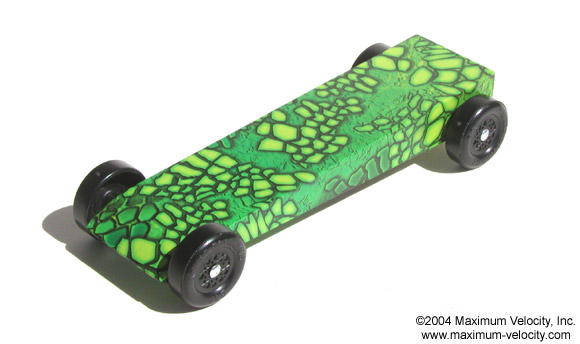
 Figure 4 – Examples of Body Skins
Body Skins apply quite easily to simple-shaped cars, while applying skins to complex cars is quite a challenge. On their website, PineCar, who is the manufacturer of most Body Skins on the market, shows pictures of very complex cars with Body Skins. My guess is that those cars do not really exist, but instead were made with photo editing.
To apply a skin to a simple wedge or block shaped car, follow the instructions below. For complex cars, the same technique is used except that the skin must be pieced together and the pieces must overlap slightly.
- Remove any dust or debris from the surface of the car.
- Determine how much material is needed to wrap the car without overlapping the material on the bottom of the car. Trim off the excess. (Figure 5)
- Peel off the backing paper.
- Use a soft, wet sponge to press the skin onto the car body. The transfer paper will release when it is thoroughly soaked. Do not use force to remove the transfer paper. (Figure 6)
- Fold the design under the bottom of the car. (Figure 7)
- Smooth out wrinkles by dipping your fingers in water and rubbing over the skin. (Figure 8)
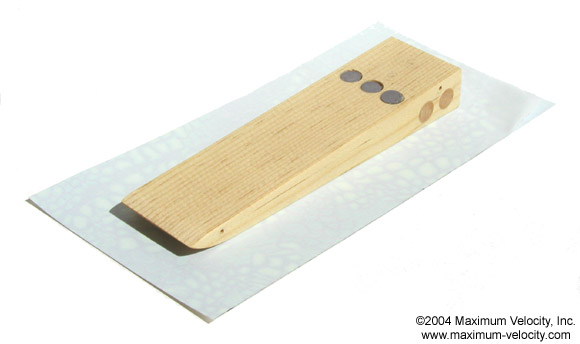 Figure 5 – Trim Material
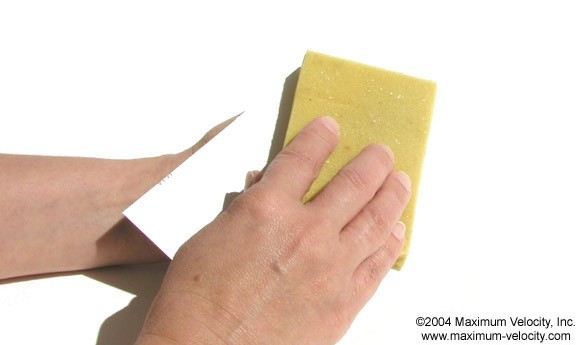 Figure 6 – Apply Skin
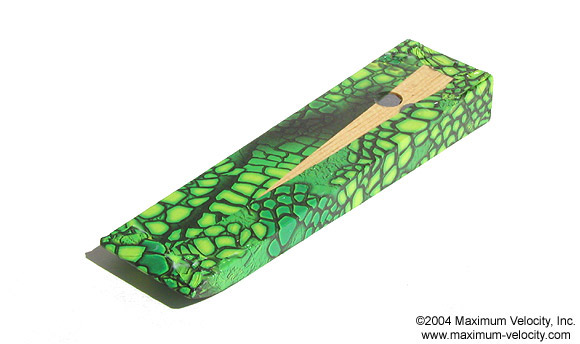 Figure 7 – Bottom of Car
Figure 8 – Finished
As with other decorative items a clear coat can be applied, but make sure to first test compatibility.
Pin Striping
I am a big fan of pin striping; it is relatively inexpensive, easy to apply, and can really dress up a car. Pin striping is a long, thin, colored tape that has an adhesive backing. It adapts well to curves in the car and can be mixed and matched, both in color and in width.
 Figure 9 – Yellow Pin Striping (1/4 and 1/8 inch)
To apply pin striping, unroll a piece longer than you need, pull it taut and then apply it to the car. Use a piece of tissue paper (not Kleenex, but the kind used in gift bags) to press down on the pin striping. This will eliminate any air bubbles and ensures that it is pressed down well. After the pin striping is in place, trim the excess with a sharp knife (hobby knife or razor knife). If the pin striping will be placed on the front and/or back of the car (as in Figure 9), wrap the pin striping under the car and trim it off underneath. This makes for a much cleaner finish.
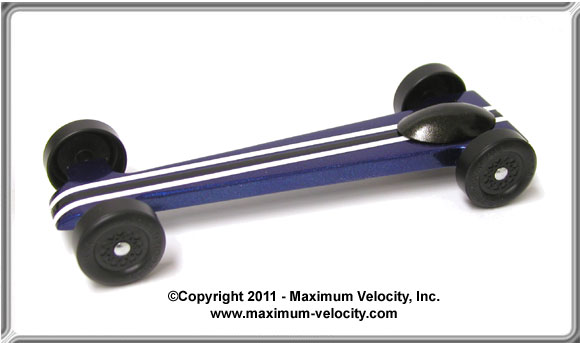 Figure 10 – White and Black 1/8 inch Pin Striping
Conclusion
It doesn’t take a lot of work or cash to change a common-looking car to a real eye-catcher. So, when designing your pinewood derby car don’t forget the decorative details.
Pinewood Derby Car Showcase
Home Depot – Stephen Henry
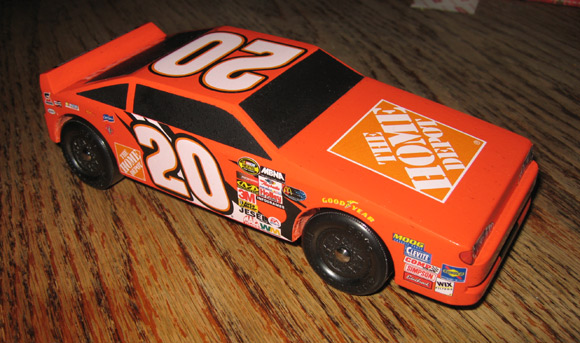
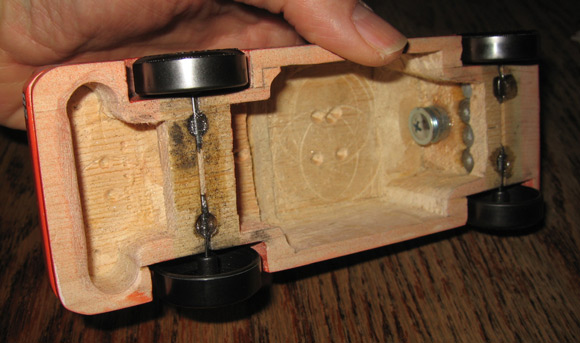
This is the car my son Benjamin Henry built for his first pinewood derby. He placed second in his age group! As you can see, we had to lighten the car quite a bit to be able to adjust the center of mass rearward to where we thought it would work best. We added a screw and some washers to adjust the weight easily on race day. He painted it himself using a spray can for the orange and borrowed my airbrush for the windows. The decals were from a 1/25 scale plastic model. They were a little big for the car so we trimmed them with a razor before we applied them.
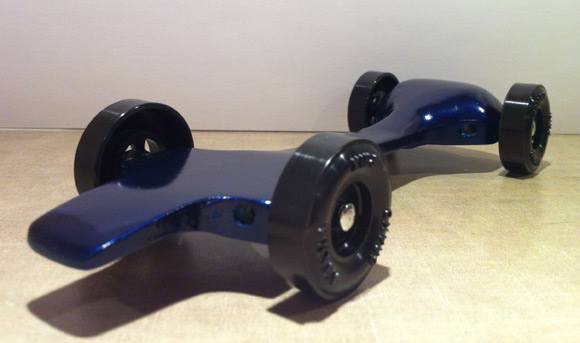
Wind Cracker – Lee Klinghoffer
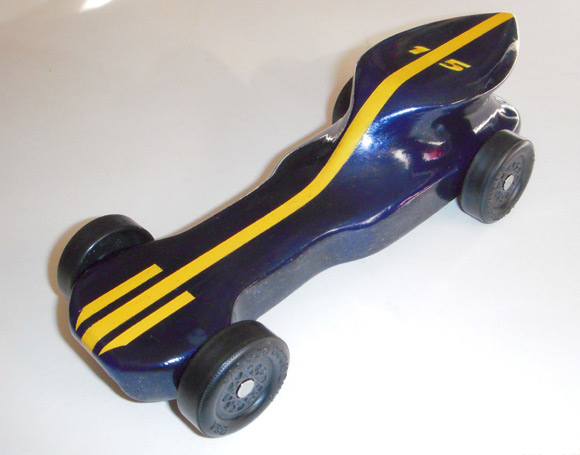
This is my son Jared’s car called “Wind Cracker”. We built it together for this year’s pinewood derby. We had to use a bit of extra block to get some height to accommodate the design. We did a cutout on the underside of the front for a fast start off the line. The car was primed, and then painted with Tamiya spray paint. A purple undercoat was followed with a deep metallic blue to get a deep cobalt blue tone. He did not, unfortunately, win a speed award (we couldn’t get rid of a small rear end wobble), but he did win an award for outstanding craftsmanship.
Blue AGP – Jeremy Isaac
This was my son’s Awana Grand Prix car this year. He wanted to go for speed instead of design this time, so we pulled out all the stops and it paid off big time: First place in the Sparks division, followed by first place overall. After running a total of 8 heats, this car’s slowest time was notably faster than the best time from any other car all day.
Q&A
I had been told that running a tap through the wheel bores reduces surface contact between the wheel and the axle, and that it is advantageous to do this. I was wondering if you have any experience with this?
I have not had much success with tapping. The plastic in the bore tends to deform as the tap cuts. So the resulting “threads” are not uniform like screw threads. This is why it is much more popular to use grooved axles instead of “grooved” bores.
My daughter got her kit today and I was going to upgrade to your wheels, but her stock ones have no writing on the sidewall. Wouldn’t they know I swapped them out?
What brand is the kit? There should be a brand name on the kit, but if not, there is a kit identification page Here.
You certainly would want to only upgrade to the same brand of wheel. Generally, you must use the same brand of wheel as is provided with the kit.
If the wheels are PineCar-brand wheels (which have no writing on the sidewalls), then we do have a speed wheel version.
I have a right side dominant rail rider and I can’t get it to steer left with any of my adjustments. The front axles are bent at 1.5 degrees and the rear axles at 2.5 degrees using the Pro-Axle Press. Any ideas on how to get it to steer left? Should I add more bend to the right-front axle, or is something going on with my axle slot?
First, I would check the rear wheels to make sure the bends are at top dead center. Roll the car back and forth and watch the rear wheels to see if they stay against the axle heads. If a wheel moves towards the car body, then rotate that axle until the wheel stays on the axle head when the car is rolled in both directions.
Next, make sure your test ramp is dead-level from left-to-right. If it is sloped one way, you will not be able to accurately align the car. Use a very round sphere to test the levelness of the ramp. A billiard ball, racquetball, or large marble all work well for testing the ramp. A bubble level is just not accurate enough to verify the levelness of the ramp.
Now work on the front dominant wheel. If you can’t get the car to adjust properly, then probably there is not enough bend in the axle. Try placing a layer of paper between the rail rider tool and the axle, and then whack it again. The paper will give just a little more angle.
If this doesn’t provide enough bend to allow for adjusting the steering, then there is likely an issue with the axle slots or holes.
Want Answers?
Do you have a pinewood derby-related question? If so, e-mail us your question.We answer all questions by e-mail, but not every question will appear in the Q&A section of the newsletter.
Back Issues
Are you a new subscriber, or have you missed some of the previous newsletters? Don’t miss out; all of the issues for Volume 5 through Volume 17 are posted on our web site.
Newsletter Contributions
We welcome your contributions. If you would like to contribute an article, a web site review, a speed tip, or a pinewood derby memory, please e-mail us.
Subscription Information
The Pinewood Derby Times is a free e-newsletter focused on pinewood derby racing. It is published biweekly from October through March.
If you haven’t already done so, please forward this issue to your pinewood derby friends. But please don’t subscribe your friends. Let them decide for themselves. Thanks.
If this newsletter was forwarded to you, why not subscribe to receive this newsletter. There is no cost, and your e-mail address is safe, as we never sell or share our distribution list.
To subscribe, send a blank e-mail to
[email protected]
You will receive a confirmation e-mail. Reply to the confirmation e-mail and you will start receiving the Pinewood Derby Times with the next issue.
Randy Davis, Editor, Pinewood Derby Times
E-Mail: [email protected]
(C)2018, Maximum Velocity, Inc. All rights reserved. Please do not reprint or place this newsletter on your web site without explicit permission. However, if you like this newsletter we grant permission, and encourage you to e-mail it to a friend.
Maximum Velocity disclaims any personal loss or liability caused by utilization of any information presented in this newsletter.
The Pinewood Derby Times is not specific to, and is not affiliated with the Boy Scouts of America, YMCA, Awana, or any other organization.
(R)Maximum Velocity is a registered trademark of Maximum Velocity, Inc.
(R)Pinewood Derby is a registered trademarks of the Boys Scouts of America.
(R)Awana is a registered trademark of Awana Clubs International.
All other names are trademarks of their respective owners.