Description
Paint Stencils are used to apply a decorative pattern to a painted car. Each paint stencil is comprised of three layers: (1) Top - clear protector, (2) Middle - yellow stencil, and (3) Bottom - white backing.
Before using the stencil, please note:
- Lacquer, urethane, and acrylic paints can all be used. Enamel paints may not work well due to the long dry times.
- Use the same brand and type of paint for the background color and for the stencil color.
- Paint may be applied with a spray can, air brush, or paint brush.
- A clear top coat over the stencil paint job will help protect the paint job. Just make sure to use the same brand and type of clear coat.
- Multiple colors can be applied with the same stencil. First spray the lighter stencil color, then mask off the desired portion of the stencil by holding a piece of paper above the car, and then apply a second color. The height of the paper above the car determines the amount of overspray/blend into the lighter color.
Using the Stencil
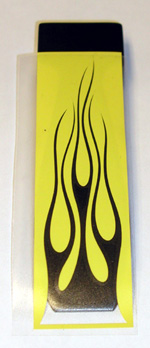
Figure 1
White Backing Removed,
Mask Applied
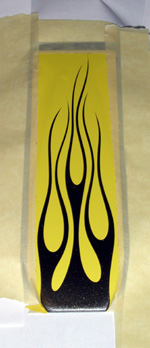
Figure 2
Clear Layer Removed,
Masking Tape Applied
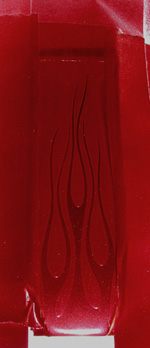
Figure 3
Paint Applied
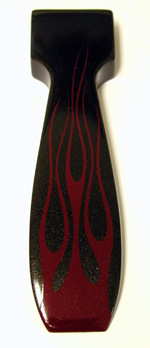
Figure 4
Tape and Mask Removed,
Clear Coated
To use the stencil, follow these steps:
Paint the car to the desired background color and finish. Allow the background color to cure before stenciling.
- Figure 1 - Remove the white backing layer and apply the stencil to the desired location. Smooth it down so that air bubbles are removed and the yellow stencil is firmly attached to the car body (air bubbles may still be present in the open, non-yellow areas - this is okay).
- Figure 2 - Carefully remove the clear protector. Again, make sure the yellow stencil is firmly attached. Use masking tape and paper to cover the remainder of the car.
- Figure 3 - Apply a light layer of paint, and allow it to dry for a few minutes. If needed apply a second coat.
- Figure 4 - It is generally best to remove the stencil before the paint has cured. First, remove the masking tape and paper, and then carefully remove the stencil, working from a front corner to the back opposite corner. After the paint has cured, if desired, apply one or more clear coats.