Velocinator

Velocinator
|
Velocinator |
|
Velocinator |
|
Editor's Notes |
|
 
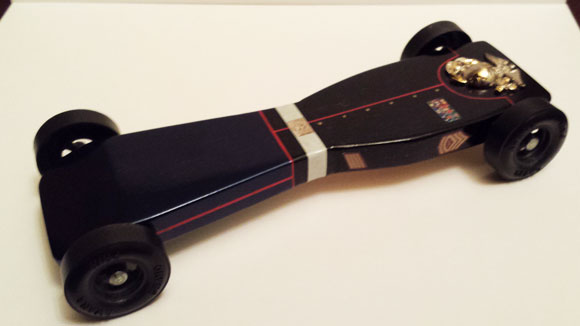
If you are planning a race and are not required to use a specific kit type, our MV Basic or Wedge Car Kit are just what you need. These attractively priced kits are equipped with:
|

Start the cut by making short gentle strokes. When the saw is firmly in the wood, take long even strokes.
Go slowly, and watch carefully to make sure the cut is staying in line. If the cut is wandering, either back up and start again in the right direction, or start the cut from the opposite side.
When cutting completely through a block of wood, place a scrap piece of wood tightly against the side of the block from which the saw blade will exit. This minimizes the amount of chipping at the saw exit point.
|
Drill And Bits - A hand drill and some basic drill bits are required
For weight holes, I strongly recommend the use of "Brad Point" or "Forstner" drill bits. These bits are designed to cut clean holes in wood. Auger bits are nice, but the long threaded tip is not good for the precise needs of derby cars. Spade bits cause excessive chipping, and standard drill bits tend to chip and wander. Here are some general tips:
|
 Brad Point Drill Bit Source: Maximimum Velocity |

If at all possible, remove most of the wood with a drill.
Use a hammer and chisel to make the first chisel cuts around the edge of the hole being chiseled. Tap the chisel gently, and remove a small amount of wood at a time. Taking too big of a bite can cause the wood block to split.
Use the chisel by itself to pry and cut out any wood in the center of the hole.
When removing a thin shaving, a hammer is not needed. Just push the chisel with steady pressure.
Keep the chisel sharp to avoid splitting the wood, and most importantly,
Keep all body parts away from the cutting edge!

Files only cut on the push stroke, so use most of your energy pushing, not pulling.
To keep the file working properly remove the sawdust from the file teeth occasionally. A "File Card" or a wire brush can be used for this job.
Use flat files to shape flat surfaces and outward-curved surfaces. Use rounded files to shape inward-curved surfaces.
A small triangular file is useful for shaping the lines of complex car bodies. This tool, or a small rectangular file, are required for removing the burrs on nail-type axles.
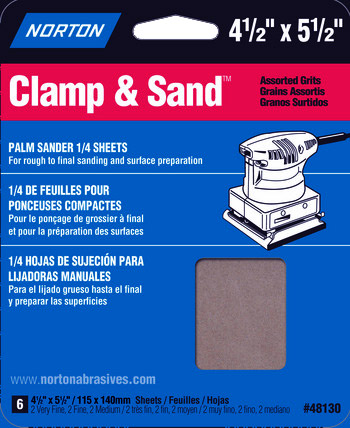
Start with rough paper, and then progress to finer paper. A good progression is 60, 120, 220, and 400.
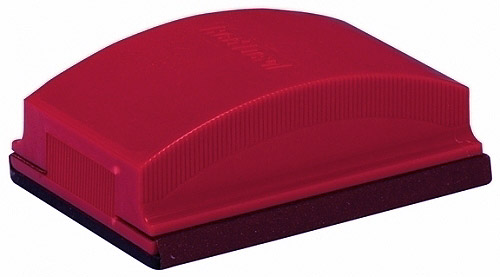
For sanding smooth, flat surfaces, use a Sanding Block. This is a tool made to hold a 1/4 sheet of sandpaper. Typically it has a padded surface, which is best for smoothing wood.
Sand back and forth in the direction of the wood grain. On the end of the car, sand in a circular motion.
To sand inside a body hole or a small surface, use a piece of sandpaper taped to a small flat object (Popsicle stick, small ruler, etc.).
To sand inward curved surfaces, use a piece of sandpaper wrapped around a dowel rod (or piece of broomstick).
Between coats of paint, lightly sand the car with 600 grit paper. This sandpaper is also excellent for polishing the wheel tread (use it wet).


Use "Wood Glue" (yellow glue) or white glue when gluing wood to wood, for repairing chips and cracks, and for gluing the axles in place.
Use epoxy when gluing non-wood parts to wood. For example, use epoxy for gluing weights to the car. This is especially important if weight is suspended under the car. Epoxy is also used for gluing plastic or metal decorative parts to the wood body.
Only use super glue for an emergency repair during a race.
Avoid any expanding glue such as "Gorilla Glue".


|
Drill Mount 20% off |
|