
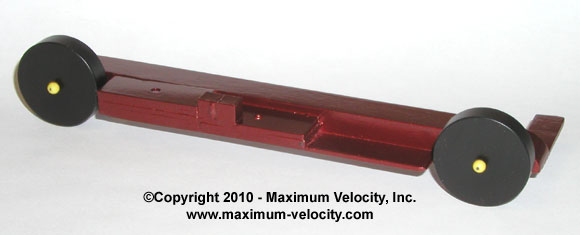
Standard Detonator


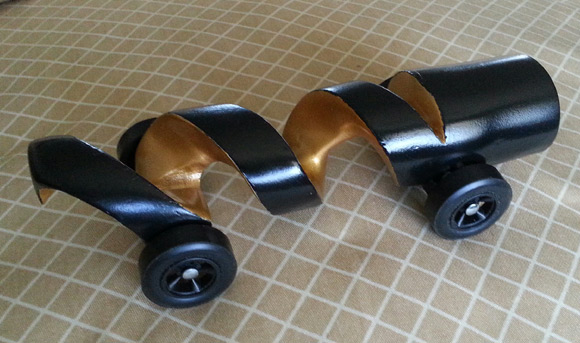
Extended Detonator
|
Standard Detonator |
|
Extended Detonator |
|
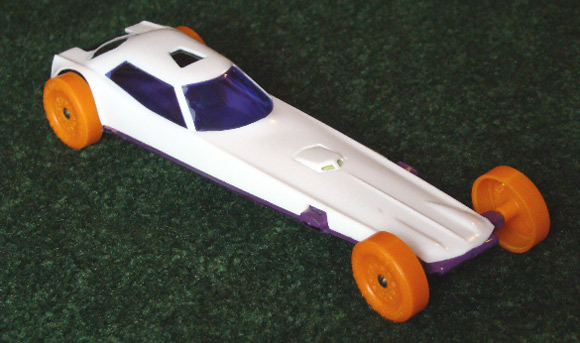
Editor's Notes "I enjoyed the article on the propeller car. Years ago I made a "hybrid" technology outlaw car shaped like a mobile home. It was big and kludgy. But it had a secret that rendered it nearly unbeatable - a rubber band to slingshot it out of the gate. I routered a 1/4 inch channel down the belly of the car and drove a nail in the slot near the rear axle. I clipped off the nail head so the nail was essentially a peg. At the race I'd string a stout rubber band (like the ones from a bunch of broccoli or lobster claws) over the nail and out the front of the car and over the starting peg. This pressed the car VERY tightly against the starting post. As the post was lowered the car was fired down the track, leaving the rubber band at the gate. This car was well on its way down the track before "legal" cars had moved a foot. Now, "Bubba's Slingshot Doublewide" was otherwise slow as I did very little to polish the axles. So, the other cars made ground on it in that final part of the track, but the Doublewide always ended up first." 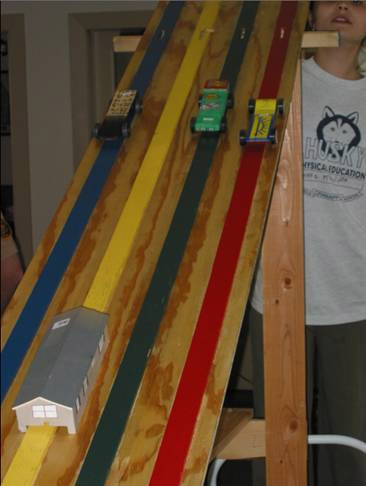 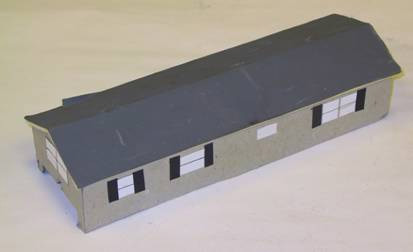 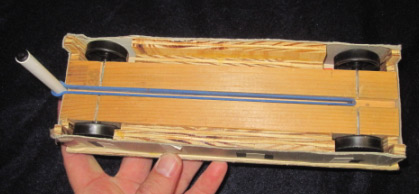
|
|
 
If you are planning a race and are not required to use a specific kit type, our MV Basic or Wedge Car Kit are just what you need. These attractively priced kits are equipped with:
|

Fasten a drill or rotating tool to a work surface using a Drill Mount, clamp, or vise.
Insert an axle into the drill chuck with the head facing outwards.
Start the drill and set the speed somewhere between 3/4 and full speed.
Slowly apply the file to the inside of the axle head. You may find it helpful to hold the tip of the file on the work surface, and pivot the file up to the axle.
Stop the drill and check the axle. Repeat the previous steps as needed until the burr is completely removed.
Before removing the axle from the drill, use the side of the file to create a slight taper on the nail head. This will minimize the frictional loss between the wheel hub and the axle head.3

Cut the axle polishing papers into strips about 1/4 inch wide.
Insert an axle into the drill chuck with the head facing outwards.
Start the drill and dip the first sandpaper strip into a cup of water.
Apply the sandpaper to the portion of the axle on which the wheel will spin. Also sand the inside of the axle head.
After polishing for about 10 seconds, dip a second strip in the water and repeat.
Repeat steps 4 and 5 for the next finest paper. Continue through all five grades of paper.
Fasten a drill or rotating tool to a work surface using a Drill Mount, clamp, or vise.
Insert an axle into the chuck of the tool, and start the drill.
Apply a small dab of polish to a clean, soft rag.
Apply the polish to the axle for about 15 seconds. Make sure to polish the portion of the shaft on which the wheel will spin, and polish the underside of the axle head.
Buff off the residue with a clean part of the rag until no more black residue comes off the axle.
Repeat the above steps for each axle.
Gently clean the axles with Isopropyl Alcohol, rinse with water, and then dry thoroughly.

|
Axle Polishing Kits - $1.00 Off |
|

Length - 7 inches
Width - 1/2 inch
Thickness - 3/8 inch.
Length - 4-1/2 inches
Width - 1 inch
Thickness 1/16 inch
