Description
These clear plastic car canopies work great on cars with a flat top surface, such as the Wedge or the Barracuda. It can also be cut and shaped to fit other contours. As shipped, the canopies measure:
Small Canopy - 1-1/2 inches long by 1 inch wide
Large Canopy - 1-3/4 inches long by 1-1/4 inches wide
To use a canopy, follow the instructions below.
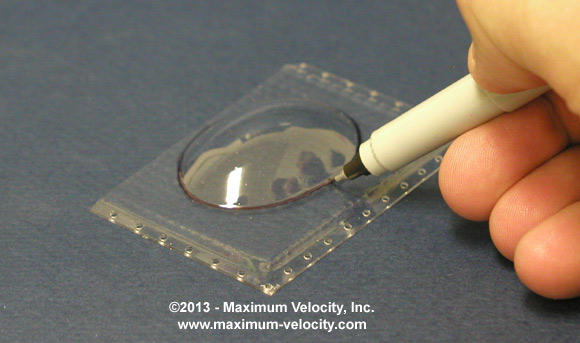
Select the desired canopy and a use a marking pen (a fine point "Sharpie" works well) to draw a line around the canopy. This makes it easier to see the edge of the canopy when cutting it out.
Cut along the line with a pair of sharp scissors. Work slowly, cutting as evenly as possible.
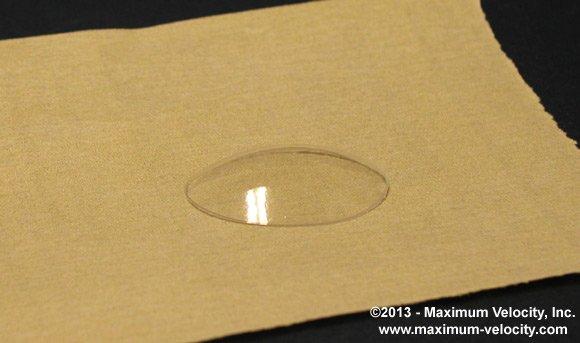
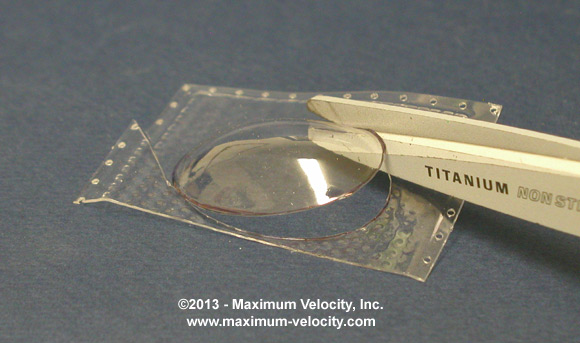
After cutting, any remaining ink from the Sharpie can be removed with a dab of rubbing alcohol on a soft rag. Sand the cut edge with 220-grit sandpaper until the cut edge is flat and smooth. Try putting the sandpaper on a flat surface, and moving the canopy in a circular motion on the sandpaper.
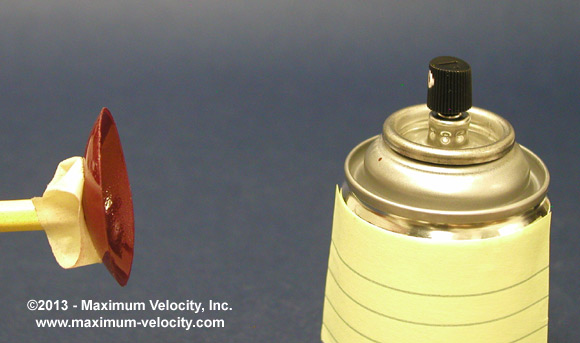
Optionally paint the inside of the canopy. An easy way to do this is to tape the end of a pencil onto the outside-top of the canopy, and then spray the inside (make sure to cover your hand with a plastic bag). Apply one or more light coats so that the paint does not run.
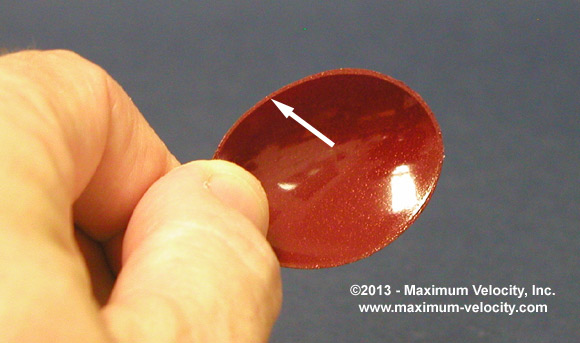
Apply epoxy to the inside of the cut edge (see arrow) and quickly position the canopy on the car. Use a piece or two of masking tape to hold the canopy in place.